Jay Blanchard, LLC
Website & Web Application Development & Design
Building the Battlestar Galactica Classic Colonial Viper
April 2015
After watching Battlestar Galactica and some of Battlestar Galactica TOS I decided I wanted to build a Viper which would bridge the gap between the Mk I and the Mk II without making major changes to a Mk I. The single most noticeable difference between the two ships was the presence of reaction control thrusters. I chose Lt. Sheba's Viper to begin the experimental modifications. The success or failure of the additions would weigh heavily in any future modifications to the Mk I.
The build for this was pretty much straight out of the box. No stand has been built as the Viper will be part of a launch bay diorama which is under construction. Outside of the RCS additions I scribed the panel lines and drilled out the guns and made barrels with small lengths of aluminum tubing. Additionally I include some stencils from a 1/48 fighter jet (the Viper is 1/35th scale, more or less) for warnings and notices at various places on the ship.
Seems like there are a lot of seam issues in the repop of the Viper but they are easily handled with good clamping:
The locations for the reaction control thrusters were drilled and small bits of aluminum tubing were epoxied in place. You can also clearly see the etching of the panel lines here:
Once in place the tubing could be filed and sanded flush with the skin of the fuselage. The tubes were cleaned of sanding dust with T-pins:
All sub-assemblies, including a hangar deck work cart I am building for the diorama, are getting primered in my home-built paint booth*:
Everything was primered and the panel lines and engine bits were shaded (note the hangar deck work box) prior to applying the base coats.
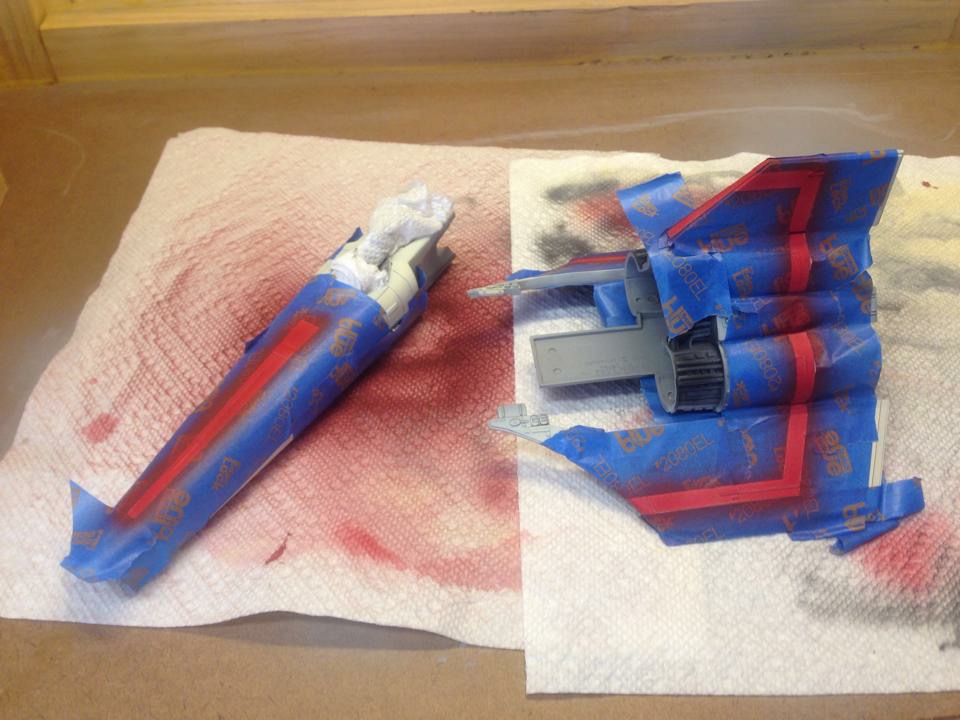
The taping. As Dr. Smith would say, "The pain. Oh, the pain." I first found some masking tape the right width for the stripes (the yellow tape) and layed that in place. Then I started covering the rest of the wing / engine assembly:
Onced everything was covered in blue tape I removed the hobby tape and sprayed the racing stripes on the fuselage and engine / wing assemblies:

The tape is removed and we can start to get a feel for how everything will come together:
Next I made the modifications for the guns. First I clipped off the plastic barrel (I know trhe finished product will not be BSG canon, but I'm OK with it in this case.) and then, using a pin vise, started gently drilling a hole down the center of the barrel line. Once I had a good start I switched to a drill bit as large as the aluminum tubing and slowly drilled the hole out to be large enough and deep enough to hold a bit of the tubing:
Once the holes were drilled and the tubing was cut to the proper length I put them in place with a little cyanocrylate:
A quick test fit insured the length was right and the effect would be better than the stock kit:
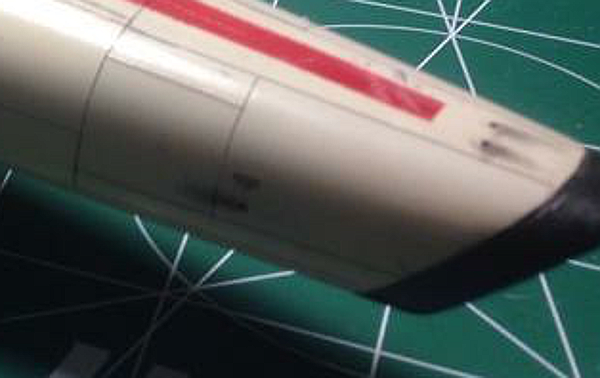
Final painting took place before a coat of Future was applied and the decals were worked into place. Once the decals were dry another coat of Future was applied before starting the weathering process. Here you can see a little exhaust staining from the reaction control thrusters:

Some smudging, scraping and random staining was applied to give the Viper a "lived-in" look:
This was a very enjoyable build and it allowed me to experiment with a couple of finishing techniques I hadn't tried before. I'll be building at least one more for the hangar bay diorama including lighting and some other features.
*I'll probably redo the paintbooth soon as I would like it just a little wider. The booth as it stands is perfect for acrylics and can be used with enamels though the ventalation would have to be improved. It utilizes an air conditioning filter backed by a standard box fan to keep things clean and nice when spraying. When I rebuild I'll publish a construction article.
Comments? Shoot me your thoughts on Twiiter: @jaylblanchard